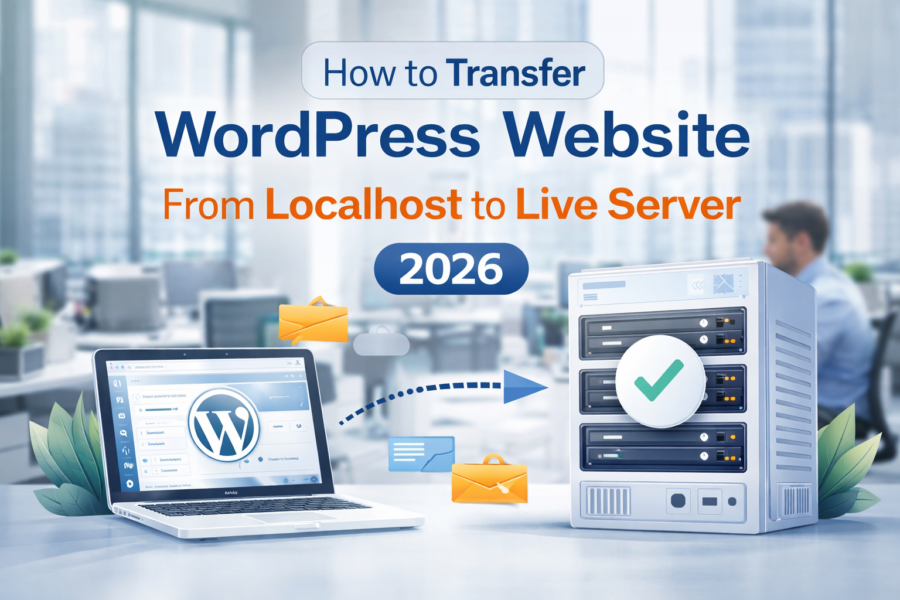
How to Transfer WordPress Website from Localhost to Live Server 2026
Creating a WordPress website on localhost is one of the most common practices used by developers, designers, and business owners before launching a website publicly. Working on localhost allows you to build your website safely without affecting live users or exposing unfinished work to the internet. However, the real success of your website begins when you properly Transfer WordPress Website from Localhost to Live Server and make it accessible to users worldwide. This process requires careful planning because even a small error can break your website layout, damage SEO structure, or cause data loss.
In 2026, website migration is becoming more advanced due to new hosting technologies and performance requirements. Businesses are focusing more on faster loading speeds, secure environments, and reliable hosting platforms. This makes the migration process from localhost to live server more important than ever. If done correctly, this process can improve your website performance, increase user trust, and help your website rank higher in search engines.
Many businesses prefer using expert migration services instead of performing the process manually. Professional teams like WPEXPERTS24x7 ensure that the website transfer process is completed smoothly, securely, and without downtime. This reduces the risk of technical errors and allows business owners to focus on growth instead of troubleshooting problems.
1 Understanding Localhost and Live Server Migration
Before starting the migration process, it is important to understand the basic difference between localhost and live servers. Having proper knowledge about these two environments helps reduce mistakes and improves the chances of successful website launch.
1.1 What is Localhost in WordPress Development
Localhost is a local environment installed on your computer that allows you to create and test websites offline. Tools such as XAMPP, WAMP, and Local WP are commonly used to create localhost environments. These tools allow developers to build websites, install plugins, test themes, and customize layouts without needing internet access. Working on localhost ensures that your unfinished website is not visible to users until it is fully ready.
Using localhost also helps identify technical issues before launching the website. Developers can test features, optimize images, and fix bugs without affecting performance. This environment provides flexibility and reduces risks during development.
1.2 What is a Live Server in WordPress Hosting
A live server is an online hosting environment where your website becomes visible to the public. Once your website is uploaded to a live server, users from anywhere in the world can access your content through your domain name. A live server also provides resources such as storage space, bandwidth, and security features required to run your website smoothly.
Choosing a reliable live server is essential because poor hosting can slow down your website and negatively impact user experience.
to ensure the website is transferred to a stable and secure hosting environment.
1.3 Why Migrating from Localhost to Live Server is Necessary
Migration from localhost to live server is the final step that allows your website to go public. Without this step, your website will remain offline and inaccessible to users. Migration makes your website available for search engines to index and rank, which directly affects traffic and business growth.
Important reasons why migration is necessary include:
- It makes your website accessible online
- It allows search engines to index your website
- It supports brand visibility and credibility
- It enables business expansion and lead generation
Proper migration ensures your website launches successfully and performs well in competitive online markets.
2 Step-by-Step Process to Transfer WordPress Website from Localhost to Live Server
Migrating a WordPress website requires following structured steps carefully. Each step plays an important role in ensuring that your website functions properly after moving to a live server.
2.1 Choose the Right Web Hosting Provider
Selecting the right hosting provider is the most important decision before starting migration. Hosting affects website speed, uptime, and overall performance. A high-quality hosting provider ensures your website remains available to users without interruptions.
Important features to look for when selecting hosting include:
- High-speed server performance
- Daily automated backups
- Free SSL certificate
- Strong security protection
- Easy WordPress installation
Good hosting improves website loading speed and helps maintain stable performance after migration.
2.2 Export WordPress Database from Localhost
The database contains all your website content including posts, pages, comments, and settings. Exporting the database correctly is necessary to ensure that your content remains safe during migration.
Follow these steps to export the database:
- Open phpMyAdmin on your localhost
- Select your WordPress database
- Click on Export option
- Choose Quick export method
- Download the database file
Once the database is exported successfully, it can be imported into the live server later.
2.3 Upload WordPress Files to Live Server
After exporting the database, the next step is uploading your WordPress files to the live server. These files include themes, plugins, media files, and WordPress core files.
There are multiple ways to upload files to your server. You can use the file manager provided by your hosting control panel or connect through an FTP client. Make sure all files are uploaded into the correct directory, usually called public_html.
Uploading files correctly ensures that your website layout and design remain intact after migration.
3 Import Database and Configure WordPress Settings
After uploading WordPress files to the live server, the next important step is importing the database and configuring settings properly. This stage connects your website files to the database and allows your website to function correctly on the live server. If any mistake happens during this stage, your website may show database connection errors or fail to load completely.
3.1 Create a New Database on the Live Server
Before importing the database, you need to create a new database in your hosting account. This database will store all the content of your WordPress website including pages, blog posts, images, and user data. Creating a properly configured database ensures smooth performance and stable website operation after migration.
To create a database, log in to your hosting control panel and find the database management section. Create a new database with a secure name and assign a database user. Make sure to grant full permissions to the database user so WordPress can access the database without restrictions. Save the database name, username, and password because these details will be required later when updating configuration files.
3.2 Import the Localhost Database into Live Server
Once the database is created, the next step is importing the database file that you exported earlier from localhost. This step ensures that all website content moves successfully to the live environment without losing information.
To import the database, open phpMyAdmin in your hosting control panel and select the newly created database. Click on the Import option and upload the exported database file from your local system. After running the import process, wait until the database upload is completed successfully. When done correctly, your website data will now exist on the live server.
Many website owners prefer professional migration assistance because database errors are one of the most common problems during migration. Reliable service providers such as
Go here: Reliable WordPress Website Transfer Services
help ensure that database imports are completed accurately without technical issues.
3.3 Update wp-config.php File with New Database Details
The wp-config.php file plays a critical role in connecting WordPress to the database. Updating this file correctly ensures your website communicates with the live database.
Open the wp-config.php file in your file manager and update the database details including database name, username, password, and database host. Save the file after making the changes. If the details are entered correctly, WordPress will connect to the database and your website will load successfully.
4 Testing Website After Migration
Testing your website after migration is essential because it helps identify errors before visitors access your website. A proper testing process ensures that all features work smoothly and prevents negative user experiences.
4.1 Verify Website Design and Layout
Once the migration is complete, open your website using your domain name and check the layout carefully. Ensure that the homepage displays correctly and all design elements appear as expected. Testing your design ensures that your brand image remains professional after launching the website online.
Important elements to verify include:
- Homepage design and structure
- Navigation menus and links
- Header and footer sections
- Images and media files
- Forms and contact pages
Checking these elements ensures that your website delivers a smooth user experience.
4.2 Fix Broken Links and Missing Images
Broken links and missing images are common problems during migration because URLs change from localhost to live domain. These issues can affect user experience and reduce search engine rankings.
To fix these issues, update all URLs inside the database and ensure image paths are correct. Tools are available that help replace localhost URLs with live domain URLs quickly. This process ensures that all internal links and media files load properly.
Businesses that require reliable migration often trust WPEXPERTS24x7 because professional experts quickly identify broken links and fix them efficiently. This improves website performance and ensures your website functions smoothly after launch.
4.3 Optimize Website Speed After Launch
After migration, improving website speed is necessary to ensure better performance and SEO rankings. Slow websites lead to high bounce rates and lower search engine visibility.
Important speed optimization methods include:
- Install caching plugins
- Optimize large images
- Enable compression settings
Speed optimization ensures that your website loads quickly and delivers better user experience.
5 Common Mistakes to Avoid During WordPress Migration
Many beginners make mistakes during migration that cause website errors or performance issues. Avoiding these mistakes helps ensure a smooth and successful website transfer.
5.1 Ignoring Backup Before Migration
One of the biggest mistakes during migration is failing to create backups before starting the process. Without backups, any error can result in permanent data loss. Always create full backups of your files and database before making any changes.
Backup should be created before:
- Exporting database
- Uploading files
- Updating URLs
- Editing configuration files
Backup creation provides safety and allows quick recovery if problems occur.
5.2 Not Updating Site URLs Correctly
Incorrect URL updates can lead to broken links and missing content. After migration, update the WordPress site URL to match your live domain. This ensures that all links and images work correctly.
Many businesses use expert services from WPEXPERTS24x7 to avoid such mistakes and ensure successful migration without technical complications.
5.3 Choosing Low-Quality Hosting Providers
Selecting poor hosting services can cause slow loading speeds, downtime, and security risks. Reliable hosting providers ensure stable performance and protect your website from technical failures.
Choosing a trusted hosting provider improves website reliability and enhances user trust.
6 Advanced Ideas to Improve Migration Success in 2026
Website migration methods are evolving rapidly, and new tools are making the process faster and safer. Using modern strategies ensures better performance and reduces manual errors.
6.1 Use Staging Environment Before Going Live
A staging environment allows you to test your website on a temporary live server before launching publicly. This helps detect errors and fix issues before users access your website.
Benefits of staging include:
- Safe environment for testing
- Reduced technical errors
- Improved website performance
- Faster troubleshooting
Using staging environments helps ensure flawless website launch and improves reliability.
6.2 Use Automated Migration Tools
Automation tools simplify migration and reduce manual work. These tools automatically move files and databases without requiring advanced technical knowledge.
Popular automated migration advantages include:
- Faster migration process
- Reduced manual errors
- Easy backup integration
- Improved migration accuracy
Automation is becoming a preferred method in 2026 because it saves time and improves efficiency.
6.3 Hire Professional Migration Experts for Zero Downtime
Professional migration services ensure that your website transfer happens without downtime or data loss. Experts monitor every step and fix issues quickly if they occur.
Businesses that want guaranteed results often rely on expert solutions available at
Visit Now! : Trusted WordPress Migration Experts
because professional handling reduces risks and improves overall website performance.
7 Final Checklist Before Making Website Live
Before making your website publicly available, perform a final checklist to ensure everything is working correctly. This step ensures that your website launches successfully and delivers a professional experience to users.
Important final checks include:
- Confirm database connection
- Test contact forms
- Verify all links
- Check mobile responsiveness
- Enable SSL certificate
Completing these checks ensures that your website is fully ready for visitors.
Conclusion Launch Your WordPress Website Successfully with Proper Migration
Learning how to Transfer WordPress Website from Localhost to Live Server is an essential skill for anyone launching a new website in 2026. A properly executed migration ensures that your website remains secure, fast, and fully functional after going live. Following structured steps, testing your website carefully, and avoiding common mistakes can significantly improve your website performance and reliability.
Businesses that perform migration correctly often experience improved SEO rankings, better loading speeds, and higher user engagement. A well-migrated website builds trust among visitors and increases the chances of converting visitors into customers. Migration is not just a technical process; it is a critical step that determines how successfully your website performs in real-world conditions.
If you want a safe and professional migration experience, working with trusted experts such as WPEXPERTS24x7 can help ensure your website launch happens smoothly. Professional assistance reduces risks, saves time, and guarantees reliable performance. Whether you are launching your first website or upgrading an existing project, proper migration strategies will help your website grow faster and achieve long-term success online.